Recommended for you
Master These Essential Travel Photography Tips: Capture Memories Like a Pro
When I first started exploring the globe, my biggest regret wasn’t missing a train connection or packing the wrong shoes—it was returning home and realizing my photos completely failed to capture the magic of the places I had visited. I would look at my blurry, poorly lit snapshots and feel a deep sense of disappointment. That frustration was the catalyst that drove me to obsessively research and practice the best travel photography tips available. Today, I want to share my personal journey and the definitive travel photography tips that transformed me from an eager amateur into someone who can confidently document the essence of a destination. Whether you are wandering through bustling antique markets, hiking majestic mountain trails, or indulging in exotic local cuisine, knowing these travel photography tips will elevate your entire experience.
Travel photography is far more than simply snapping pictures; it is the art of capturing the raw emotion, vibrant culture, and fleeting moments of your journeys. It is about preserving memories that endure long after your passport has been stamped. Each photo you take becomes a narrative—a piece of art that encapsulates your adventure in a single frame. In this comprehensive guide, I will walk you through the most crucial travel photography tips I have learned over the years. By integrating these travel photography tips into your next trip, you will stop taking mere snapshots and start creating compelling visual stories that transport you right back to that specific moment in time.
The Core Philosophy Behind My Favorite Travel Photography Tips
Before we dive into technical settings and gear recommendations, one of the most important travel photography tips I can offer is to shift your mindset. For a long time, I treated my camera as a shield, hiding behind the lens rather than experiencing the destination. The true secret to incredible travel images is presence. You must first feel the energy of a place before you can photograph it. This form of artistry holds significant weight because it connects adventure travel with genuine cultural immersion, allowing you to engage deeply with the places you visit. When I learned to slow down and observe, my images drastically improved. Incorporating mindfulness into your routine is one of those travel photography tips that rarely gets talked about but makes all the difference.
The benefits of documenting your journey thoughtfully are manifold. Primarily, it preserves memories for your personal reflection. Each photograph serves as a tactile reminder of the places you have visited, the incredible people you have met, and the unique flavors you have tasted. Beyond personal enjoyment, high-quality images allow you to connect with a broader audience. I have found that sharing my work alongside practical travel photography tips on my blog has fostered a beautiful community of like-minded explorers. Remember, your unique perspective is your superpower. No one else sees the world exactly the way you do.

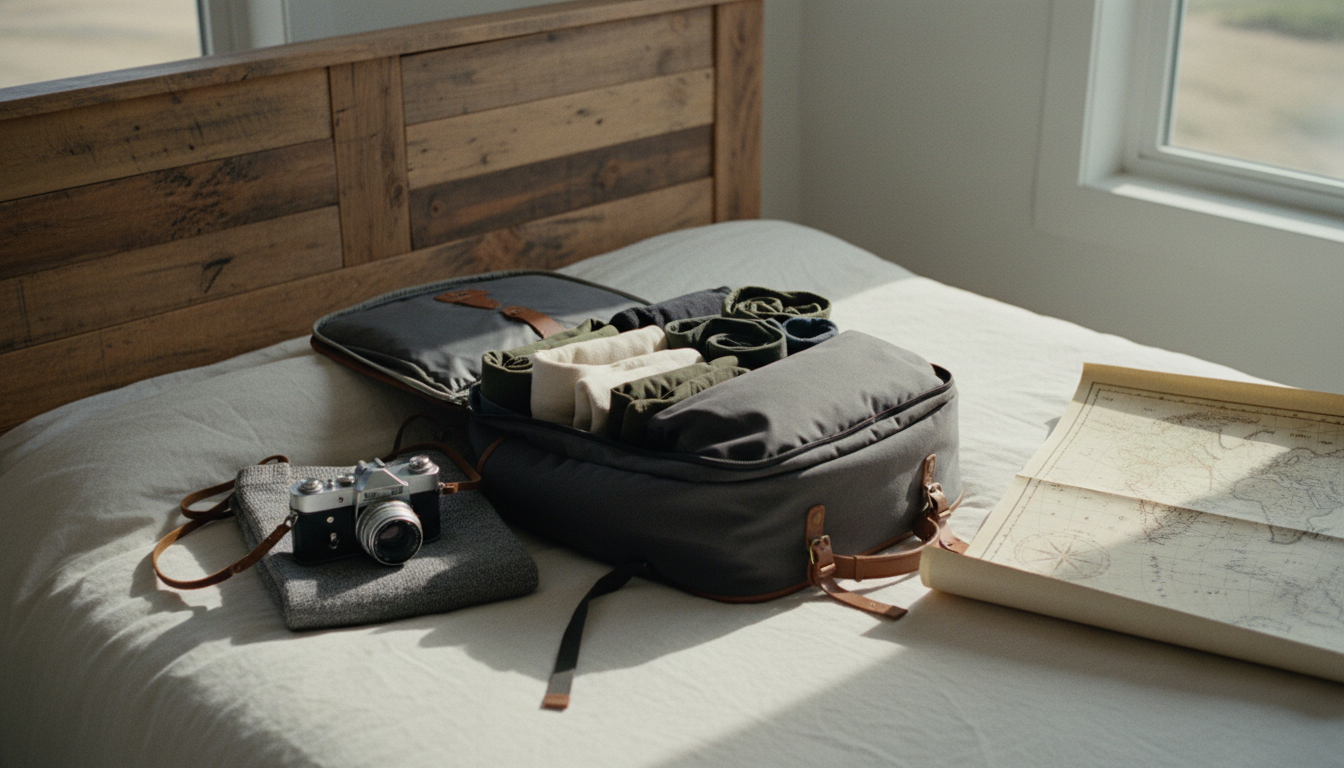
Essential Gear: Travel Photography Tips for Packing Smart
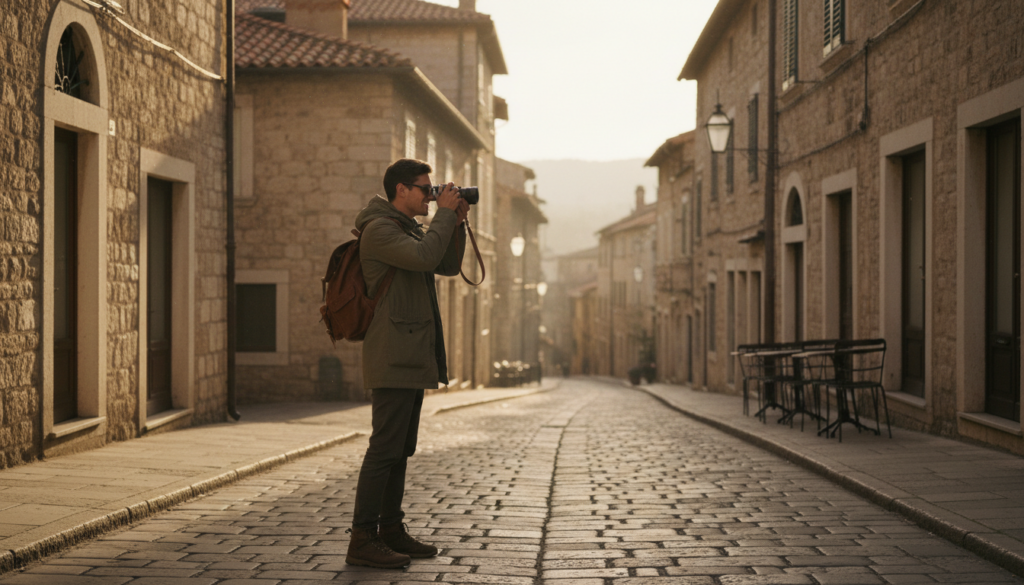
When it comes to executing the best travel photography tips, having the right gear is foundational. However, the “right” gear depends largely on your style, physical endurance, and budget. Early in my travels, I made the classic mistake of overpacking. I brought three massive lenses, a heavy DSLR, and a massive tripod. I was so exhausted from carrying it all that I barely wanted to shoot. One of my golden travel photography tips is this: the best camera is the one you actually want to carry with you when the moment strikes.
For minimalist travelers, modern smartphones with computational photography capabilities are often more than sufficient. If you apply solid travel photography tips regarding composition and light, a smartphone can produce gallery-worthy images. If you are seeking higher resolution, manual control, and better low-light performance, I highly recommend mirrorless cameras. They offer exceptional image quality without the heavy bulk of traditional professional DSLR rigs. My current setup includes a weather-sealed mirrorless body and a versatile zoom lens, specifically a 24-70mm f/2.8. This focal length is incredibly flexible, allowing me to shoot wide landscapes and tight portraits without constantly changing lenses.
Regardless of your camera choice, packing light is crucial. Among my top gear-related travel photography tips is to always carry ample spare batteries and extra memory cards. Nothing is more heartbreaking than finding the perfect composition only to have your battery die. A lightweight carbon-fiber tripod is also indispensable for long exposures and low-light situations. Remember to pack a simple cleaning kit; dust on your sensor or a smudge on your lens can ruin an otherwise perfect shot.
The Exposure Triangle: Technical Travel Photography Tips
You cannot fully utilize these travel photography tips without understanding the exposure triangle: Aperture, Shutter Speed, and ISO. When I finally took my camera off “Auto” mode, a whole new world of creative possibilities opened up. Aperture refers to the size of the opening in your lens. A wide aperture (like f/1.8) creates a shallow depth of field, blurring the background beautifully—perfect for isolating a subject in a busy street market. A narrow aperture (like f/11) keeps everything from the foreground to the background in sharp focus, which is ideal for sweeping landscapes.
Shutter speed dictates how long your camera’s sensor is exposed to light. Fast shutter speeds (like 1/1000th of a second) freeze fast-moving action, such as a bird in flight or a bustling tuk-tuk. Slow shutter speeds (like 2 seconds) create intentional motion blur, which can beautifully capture the flow of a waterfall or the light trails of city traffic. Knowing when to manipulate these settings is one of the most critical travel photography tips you can master.
Finally, ISO measures your camera’s sensitivity to light. While a higher ISO allows you to shoot in dark environments, it also introduces grain or digital noise into your image. One of my steadfast travel photography tips is to keep your ISO as low as possible for the cleanest image, raising it only when necessary to achieve the desired aperture and shutter speed. Mastering this triangle gives you the creative freedom to photograph any destination exactly as you envision it.
Enhance Your Travel Memories
Pairing your stunning photos with written memories creates the ultimate keepsake. If you want to learn how to document your trips through words, check out our comprehensive Ultimate Travel Journaling Guide: Master Your Travel Diary to build a complete archive of your adventures.
Mastering Composition: Visual Travel Photography Tips
Composition is the universal language of photography. Even with the most expensive camera, a poorly composed shot will fall flat. Learning composition rules was a turning point in my creative journey, and sharing these visual travel photography tips is always my favorite part of teaching others. The most well-known rule is the Rule of Thirds. Imagine dividing your frame into a tic-tac-toe grid. Placing your primary subject along these intersecting lines, rather than dead center, instantly creates a more dynamic and balanced image.
Another powerful technique involves using leading lines. Look for natural or architectural elements—such as winding roads, ancient brick walls, rivers, or fences—that guide the viewer’s eye seamlessly through the photograph. This adds depth and perspective, drawing the audience into the scene. Additionally, framing your subject using natural elements like archways, overhanging tree branches, or windows can provide context and scale. Applying these composition-based travel photography tips will make your images stand out from the typical tourist snapshots.
The Magic of Light: Essential Travel Photography Tips
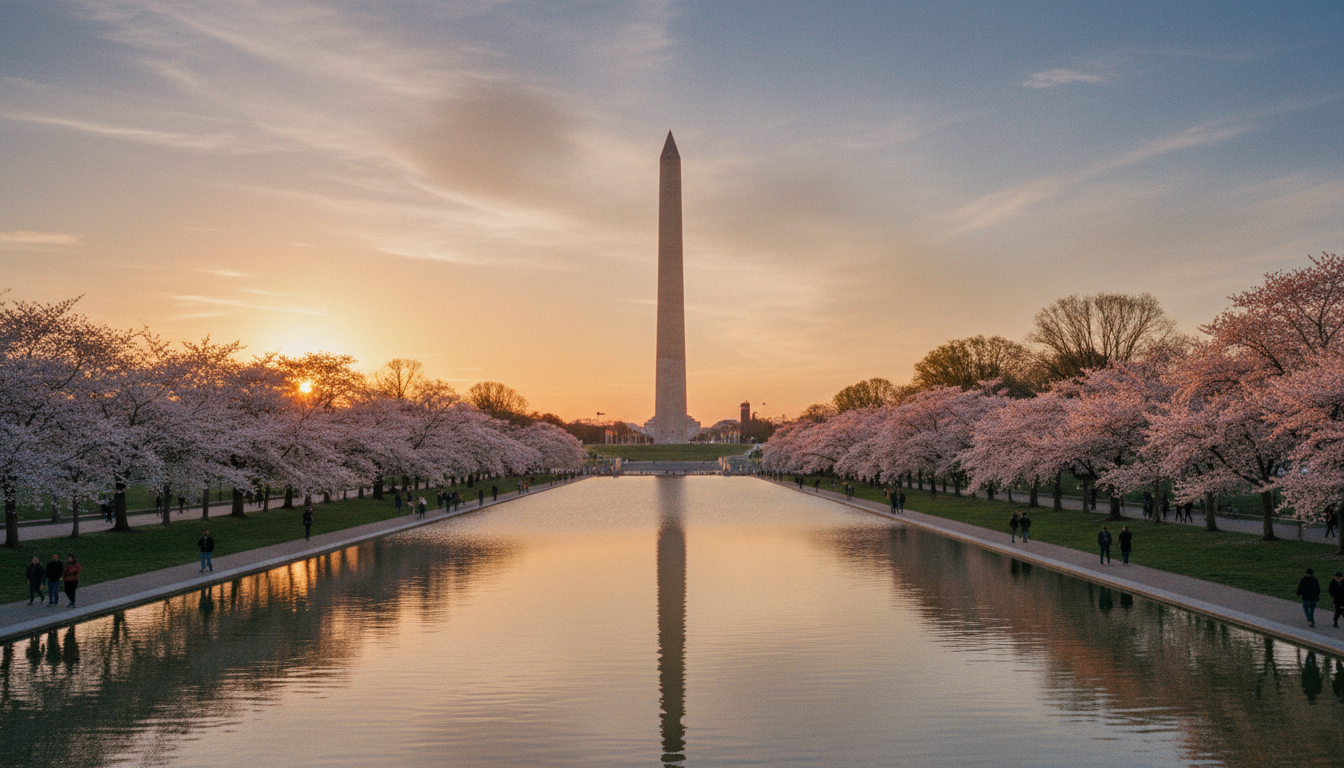
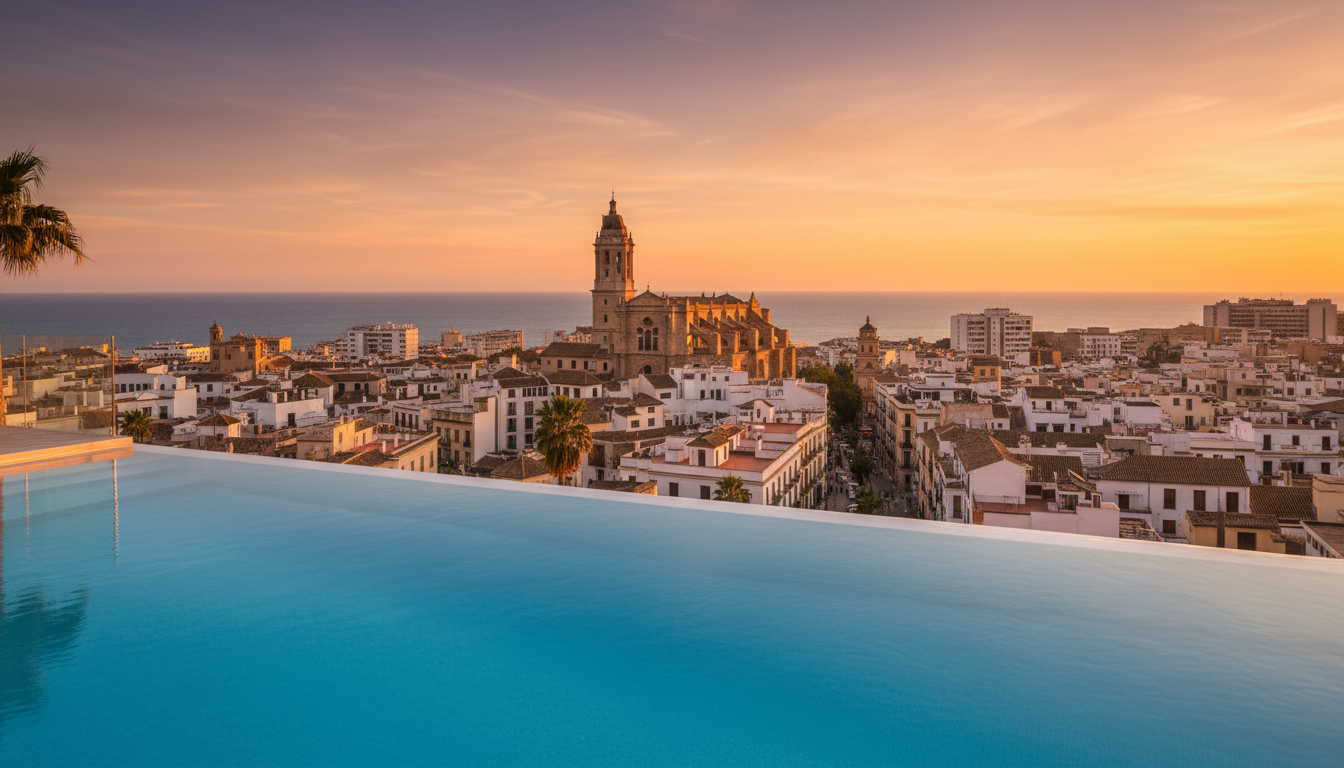
Photography literally means “drawing with light.” The most important of all travel photography tips is to chase good light. I used to sleep in and start taking photos at noon, wondering why everything looked harsh, flat, and unappealing. The holy grail for outdoor and travel photography is the “Golden Hour”—the magical window of time just after sunrise and just before sunset. During these brief periods, the sun is low on the horizon, casting a soft, warm, diffused light that creates rich colors and long, dramatic shadows. Waking up before dawn to capture a popular landmark without the crowds, bathed in golden light, is one of those travel photography tips that pays massive dividends.
Alternatively, the “Blue Hour” (the twilight period just before sunrise and after sunset) offers a cool, moody atmosphere that contrasts beautifully with the warm glow of city streetlights. Midday sun, while challenging, is not impossible to work with. If I have to shoot at noon, I seek out shadows, experiment with high-contrast black and white, or move indoors to shoot architecture and museums. By adapting to the light, you effectively apply the most advanced travel photography tips used by professionals.
Capturing the Elements: Travel Photography Tips for Diverse Subjects
To build a compelling portfolio, you must look beyond the standard tourist landmarks. A destination is defined by its people, its food, and its hidden corners. Here is how I apply specific travel photography tips to different subjects:
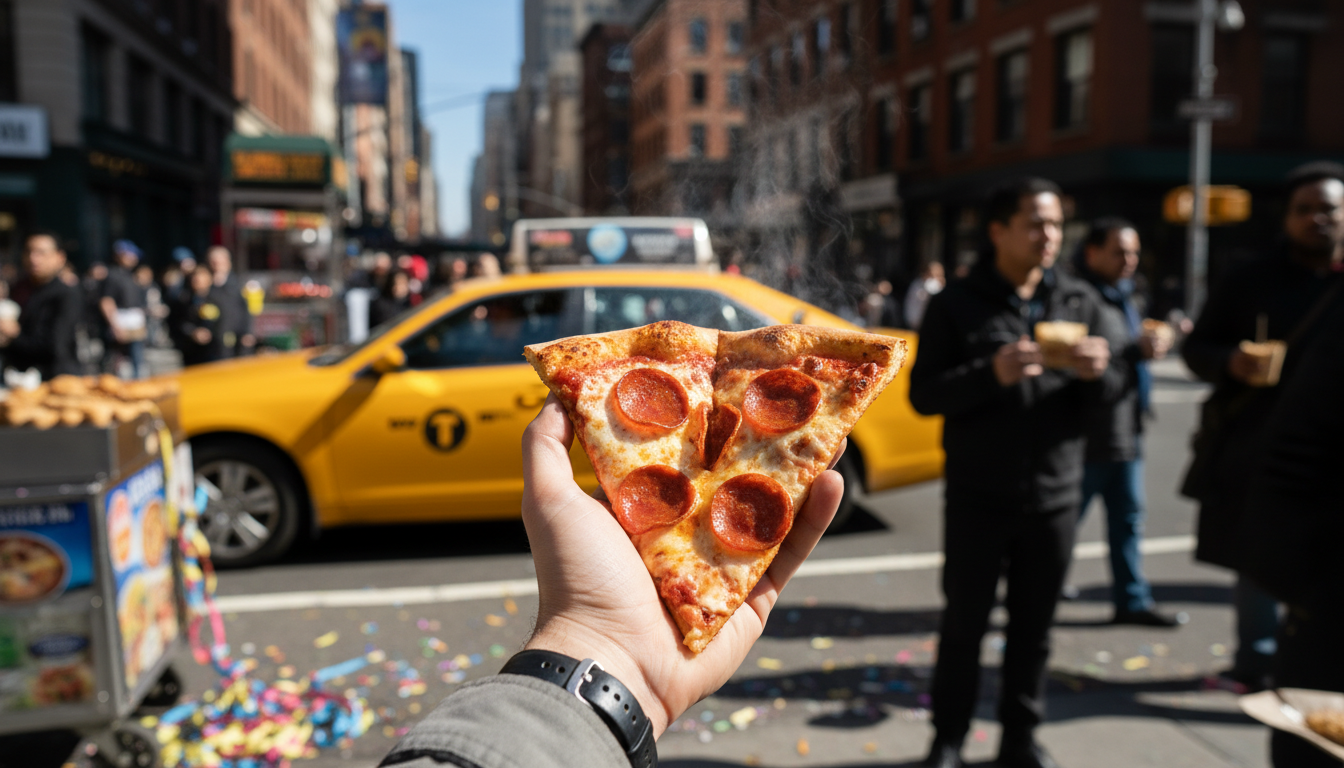
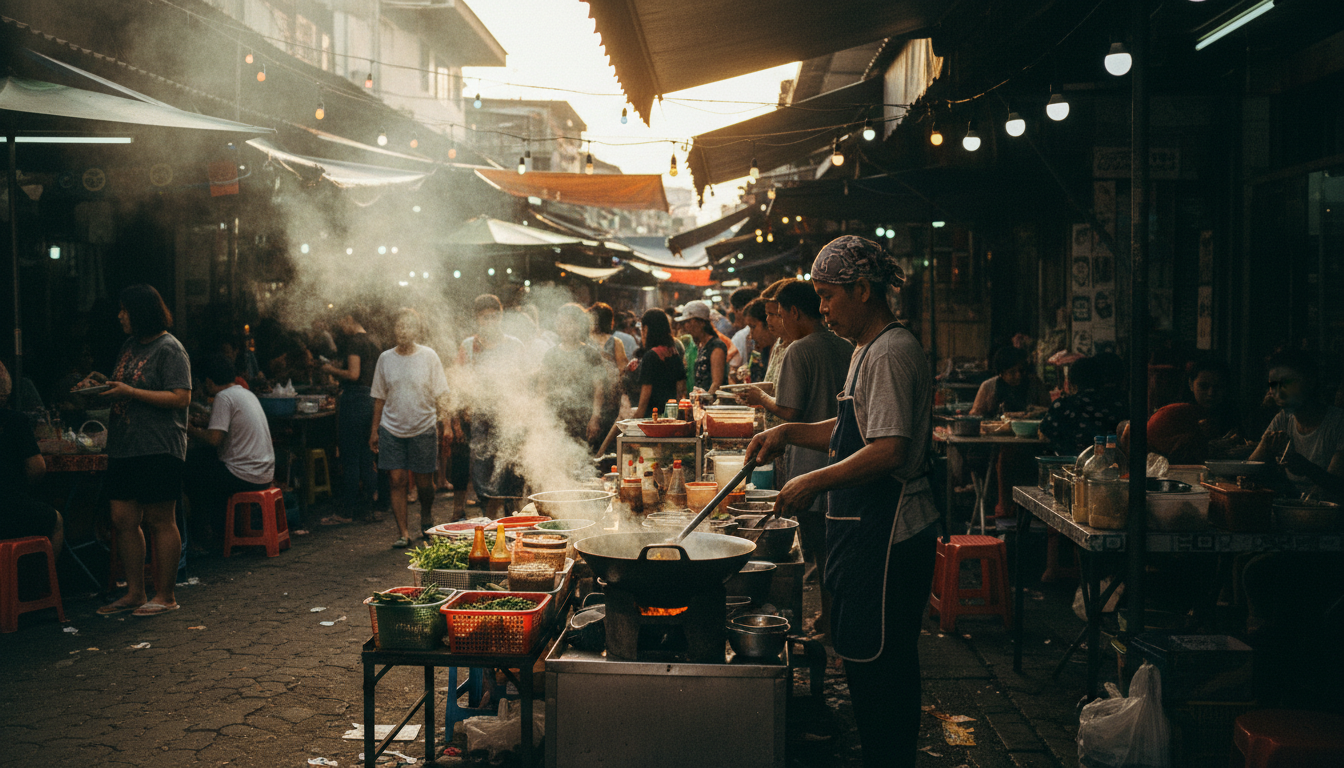
Local Cuisine: Food is an integral expression of culture. To make dishes look appetizing, I always request a table near a window. Natural lighting is infinitely better than harsh restaurant overheads. One of my favorite food-related travel photography tips is to use an overhead “flat-lay” angle for large spreads, while switching to a 45-degree angle with a shallow depth of field to capture the intricate textures of a specific dish. Never use your camera’s pop-up flash on food; it makes everything look unappealing.
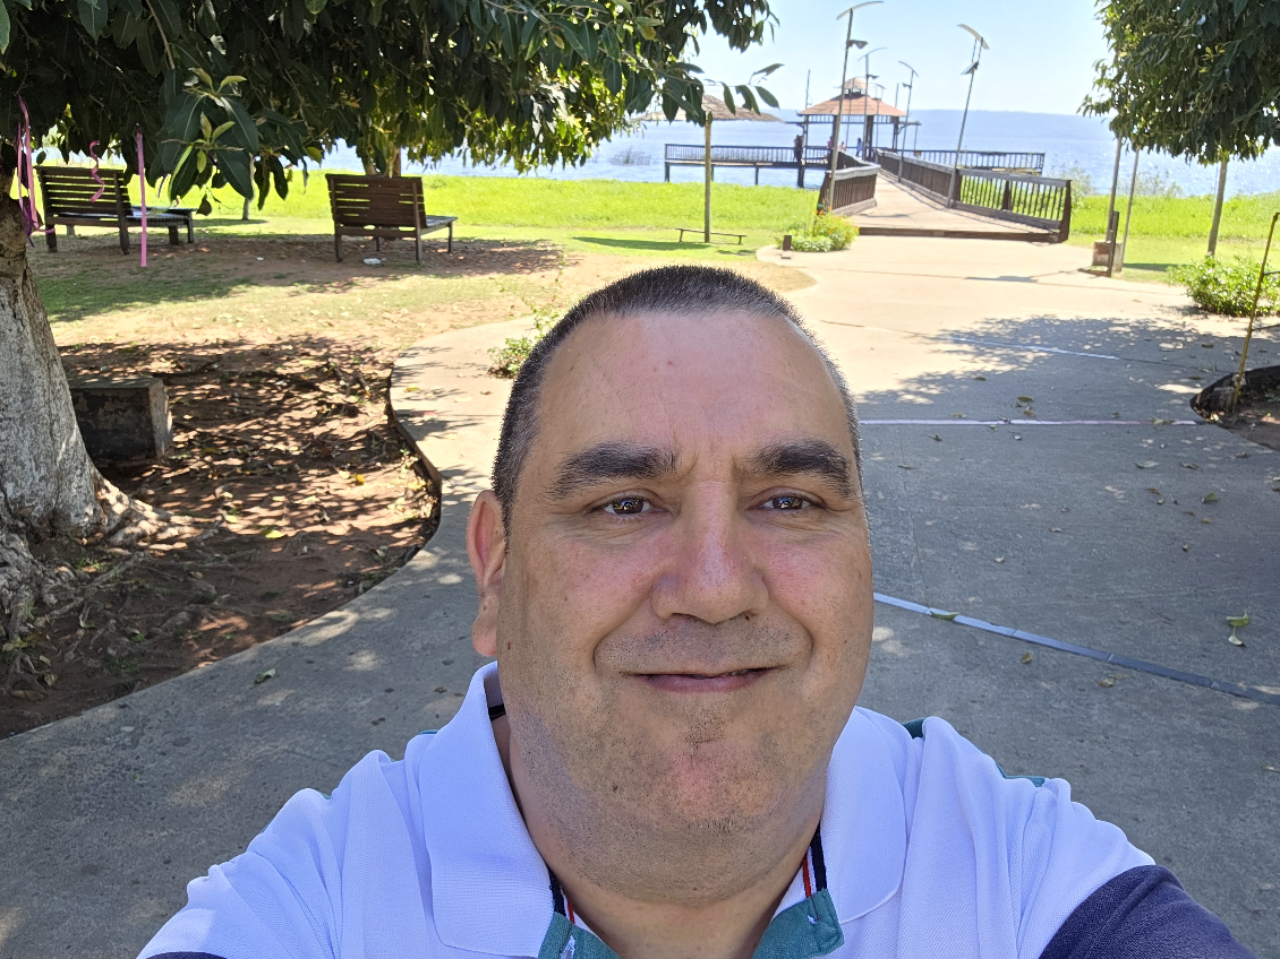
Cultural Experiences and People: Photographing locals requires a delicate touch and a strong sense of ethics. When documenting traditions, respect is paramount. One of the most vital travel photography tips I share is to always ask for permission before taking a portrait. A warm smile and a gesture toward your camera usually break the ice. By deeply immersing yourself in the environment and interacting with the people, you capture far more genuine, emotive shots than if you were standing on the periphery snapping away with a massive zoom lens.
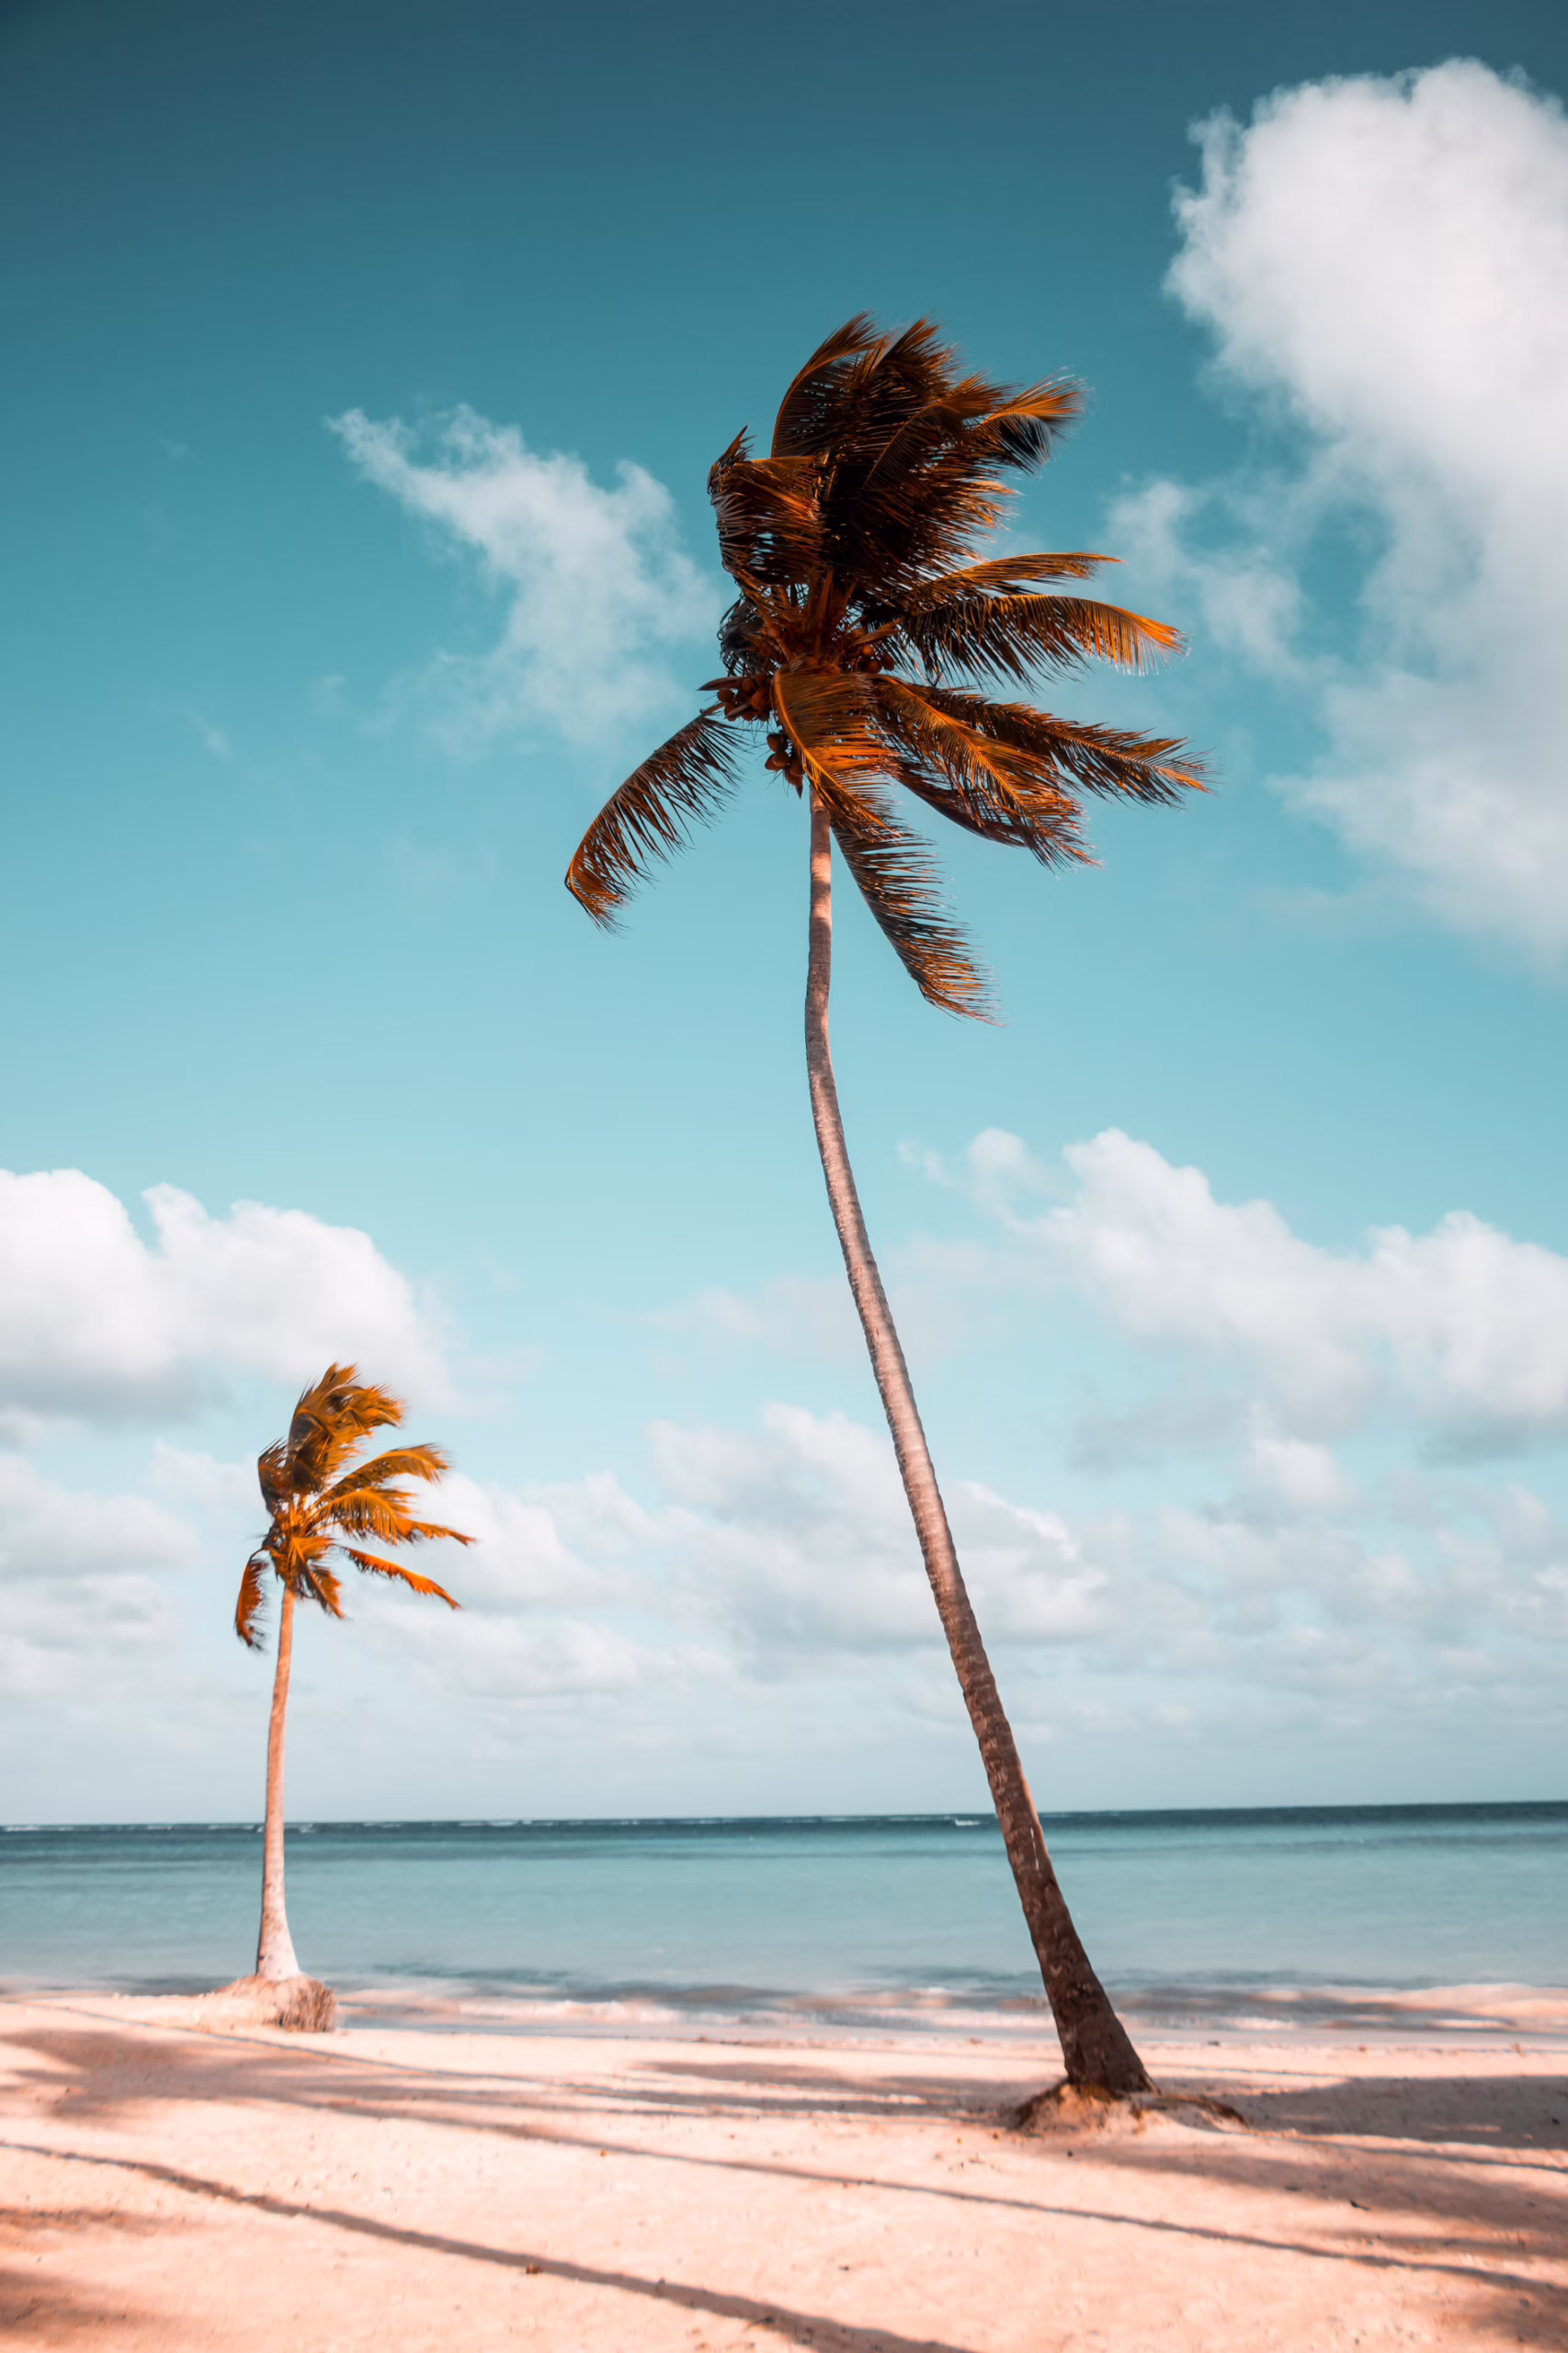
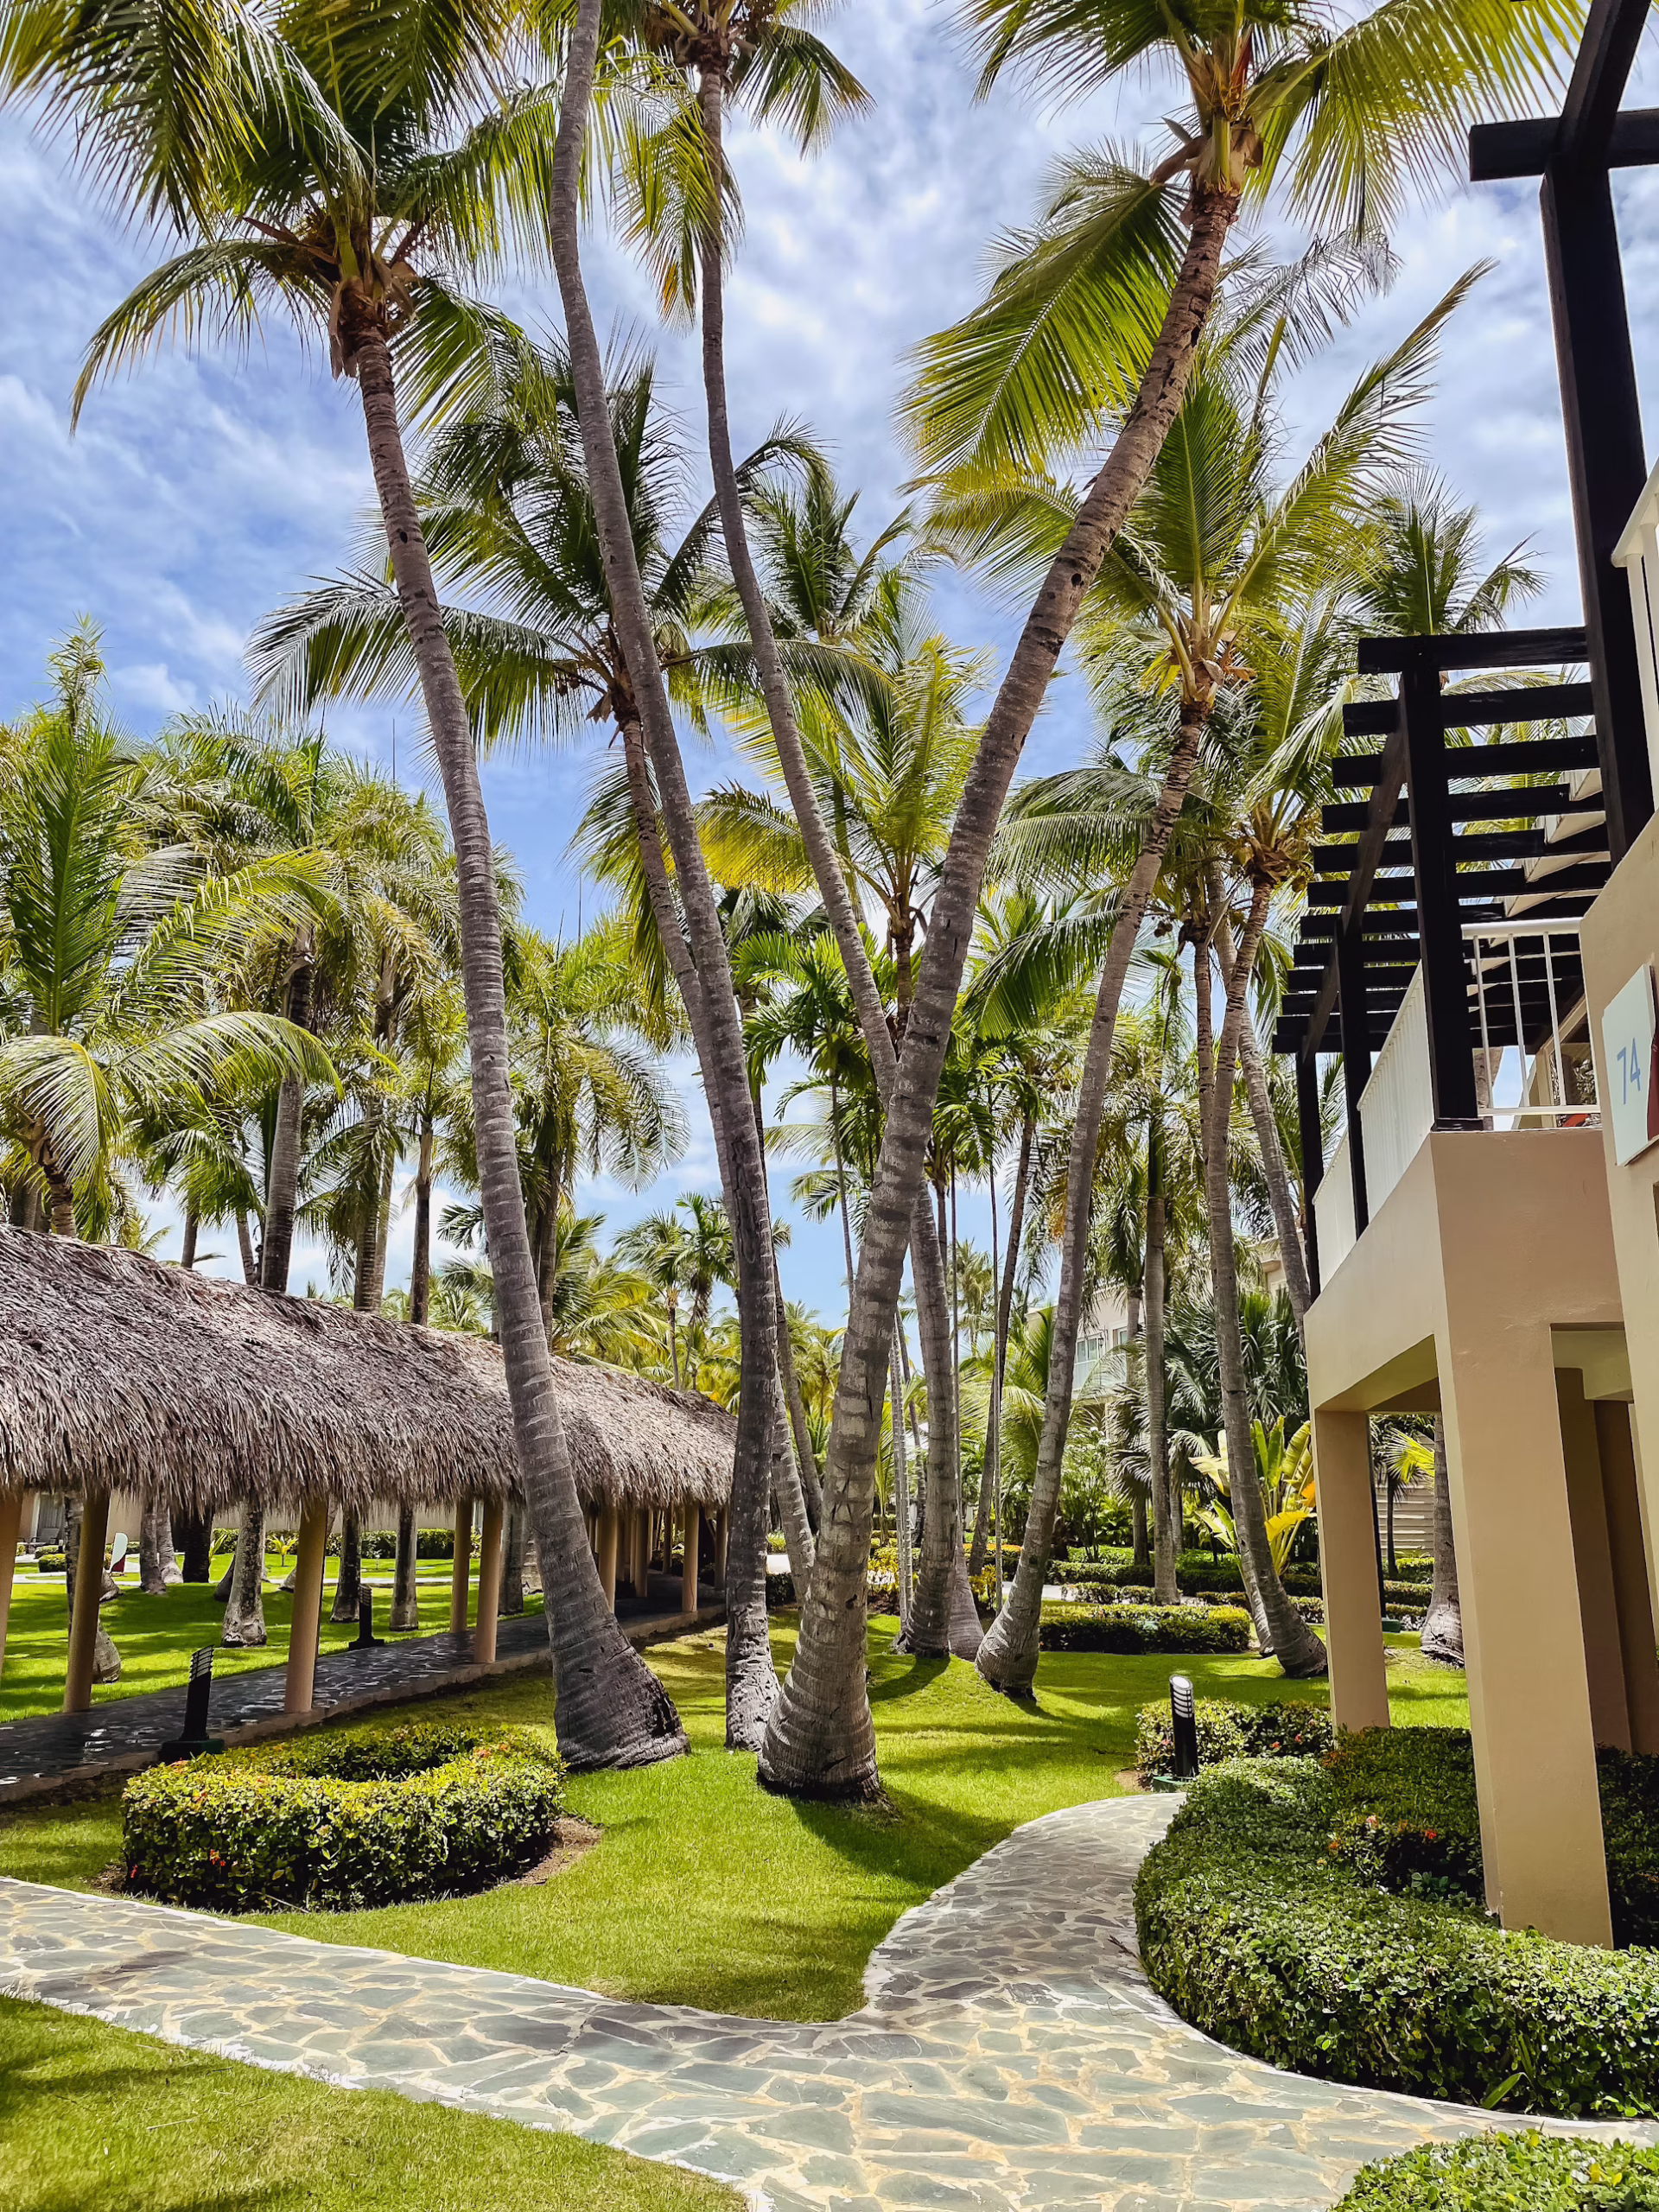
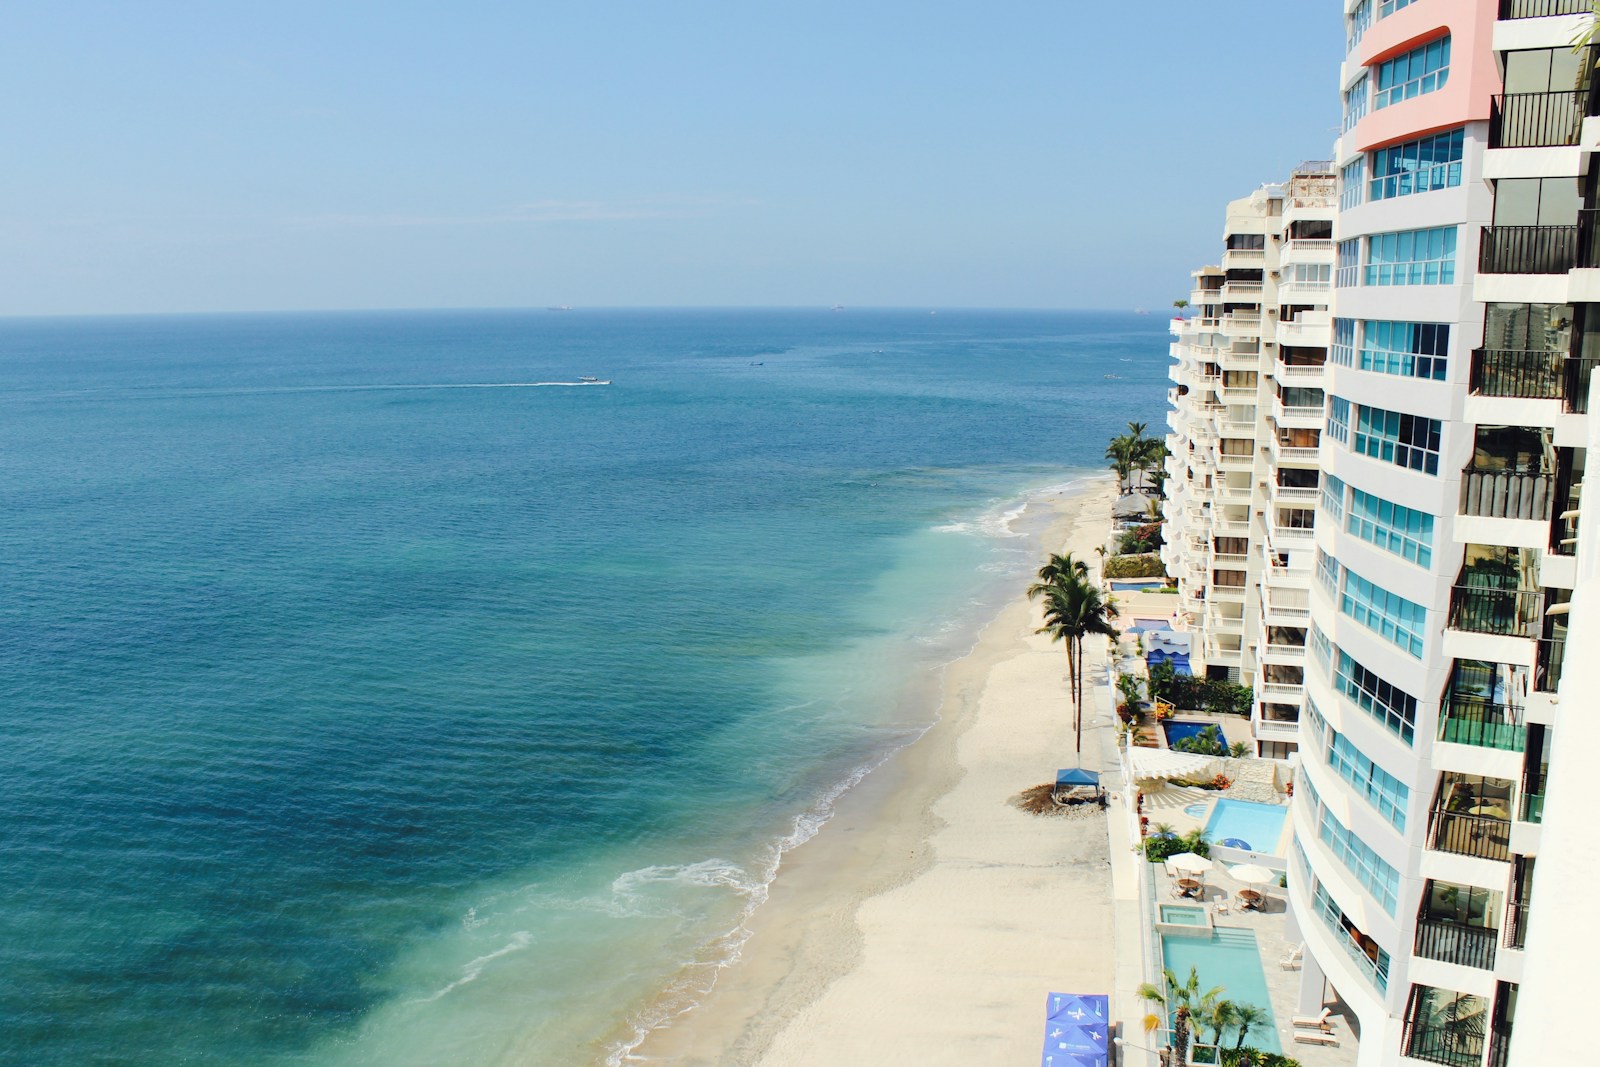
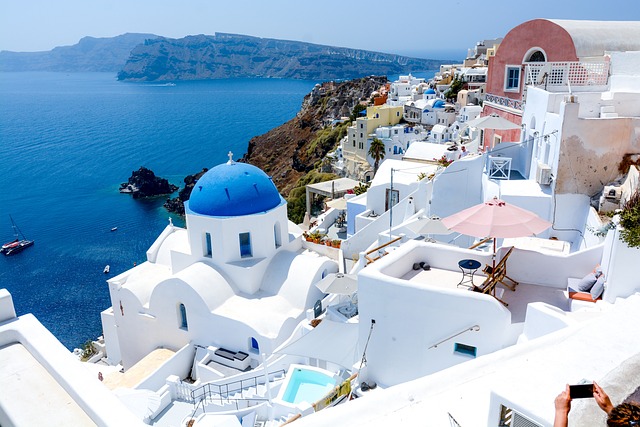
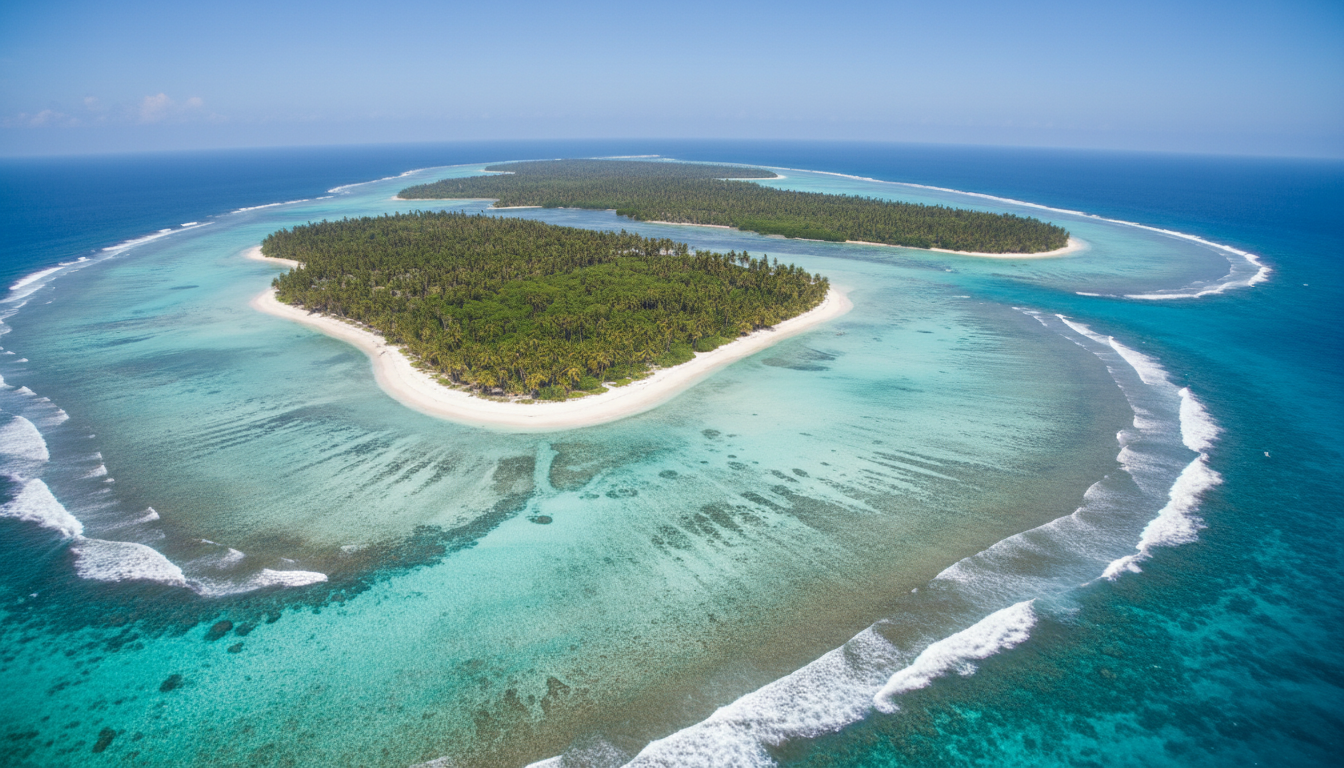
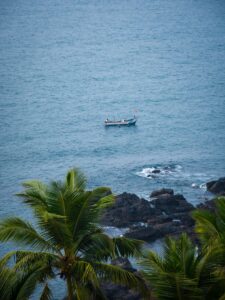
Epic Landscapes: When dealing with vast natural wonders, use wide-angle lenses to capture the sheer scale of the environment. However, one of the more nuanced travel photography tips is to include a human element—like a friend walking down a trail—to provide a sense of scale. Furthermore, don’t forget the macro details. Sometimes the rough texture of a volcanic rock or a dew-covered tropical leaf tells a stronger story than the entire mountain range.
Post-Processing: Polishing Your Travel Photography Tips
Post-processing is the final, essential step in the digital photography workflow. A raw image straight out of the camera is like an undeveloped negative; it needs a bit of fine-tuning to reach its full potential. You do not need expensive desktop software to start applying these editing-focused travel photography tips. Mobile applications like Adobe Lightroom or Snapseed offer powerful tools to adjust exposure, boost contrast, and correct color balance right from your smartphone.
My golden rule for editing—and one of my most stressed travel photography tips—is to enhance the reality of the scene, not to completely fabricate a synthetic one. I tweak the highlights and shadows to recover details, add a slight bump to vibrance, and ensure the horizon line is perfectly straight. Over-saturating skies or overly smoothing skin can ruin an authentic travel photo. The goal is to make the image reflect exactly how the scene felt when you were standing there.
Workflow and Backup: Crucial Travel Photography Tips
One aspect of travel photography that is rarely glamorous but absolutely critical is data management. Imagine spending two weeks executing all these travel photography tips perfectly, only to lose your camera or have a memory card corrupt on the flight home. It is a nightmare scenario. That is why one of my non-negotiable travel photography tips is to establish a rigorous backup routine.
Every evening, when I return to my hotel room, the first thing I do is transfer my images to a portable external solid-state drive (SSD). If I have a strong Wi-Fi connection, I also upload the best shots to a cloud storage service. Keeping your photos in at least two physical locations guarantees that your precious memories remain safe, regardless of what happens on the road.
Conclusion: Putting These Travel Photography Tips into Practice
Capturing the magic of the world through a lens is an enriching, lifelong pursuit that deepens your connection to the places you explore. By embracing these travel photography tips regarding gear selection, the exposure triangle, mindful composition, and lighting, you can transform ordinary snapshots into lasting, evocative works of art. I encourage you to take these travel photography tips, practice them in your own backyard, and then unleash them on your next grand adventure. Remember, the most important element behind the lens is your unique perspective. Focus passionately on the stories you want to tell, stay curious, respect the cultures you visit, and the technical skills will naturally follow.